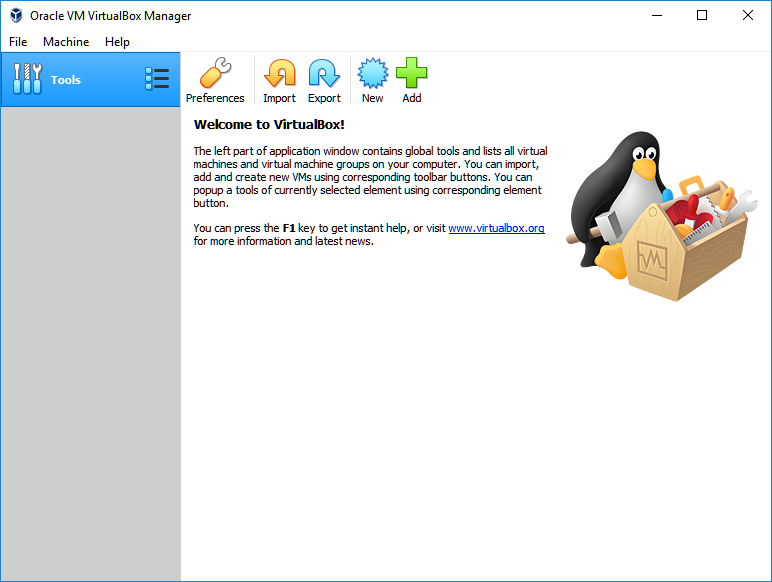
VirtualBox is open source free virtualization software. It is almost as feature rich as VMWare Workstation Player.
It can host and run guest operating systems like Windows (NT 4.0, 2000, XP, Server 2003, Vista, Windows 7, Windows 8, Windows 10), DOS/Windows 3.x, Linux (2.4, 2.6, 3.x and 4.x), Solaris and OpenSolaris, OS/2, and OpenBSD.
Here is step by step guide to install VirtualBox on Windows 10 system.
Download VirtualBox
First thing, you need to install VirtualBox is to download installation file. VirtualBox is supported on Windows, OS X, Linux and Solaris platform.
Download VirtualBox binary file from official website – https://www.virtualbox.org/wiki/Downloads
Install VirtualBox
Open file folder where VirtualBox binary file is saved. Double click on executable file.
This will launch installation process with Preparing Installation window box.
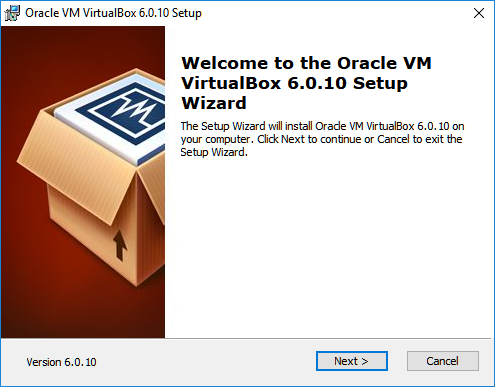
After few seconds, a Welcome window box will pop up. Click on Next.
Feature Selection
Next wizard will ask for features to installed. You can go with default selection as we want all the features like USB support, networking support. If you want, you can skip Python support as it is only required for programmers or developers.
There is also option to select installation location. Please select your preferred location for installation or go with default suggested location.
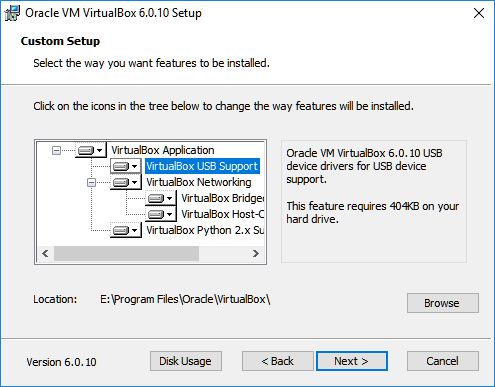
Click on Next.
Menu Options & File Associations
This wizard have options for creating menu entries, shortcut on desktop, shortcut in Quick Launch Bar and registering file associations. File association ties VirtualBox virtual machine files with VirtualBox. So that if you double click on vm files, Windows will open it with VirtualBox.
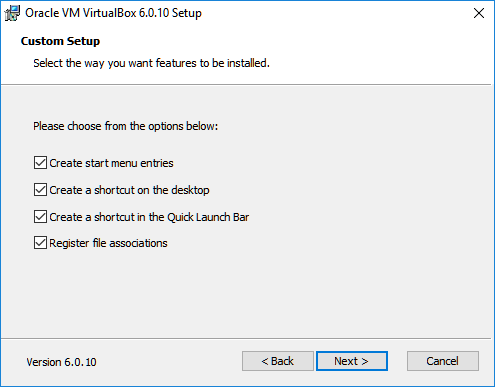
Click on Next.
Network Disruption Warning
Next wizard will give warning about temporary network disruption as networking feature will reset network connection during installation process. If you have any active download, it is better idea to pause it or let it complete before going for installation.
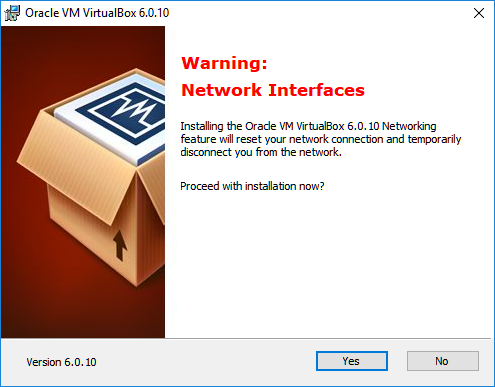
Click on Yes.
Confirm Install
Next window is confirmation box. If you want to change customization setting, you can still do that. To do that, just click on Back button.
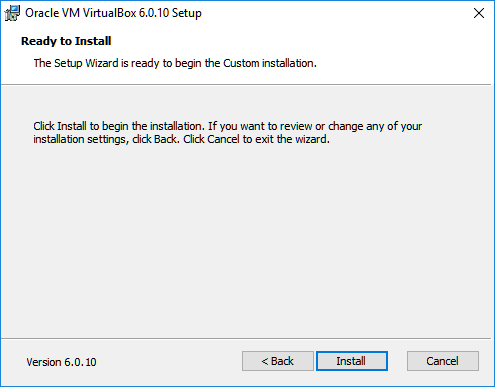
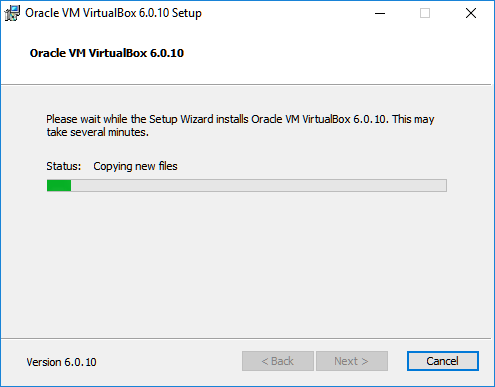
Else click on Install button.
This will start installation process by writing files and making changes in system.
USB Driver Install
If you have selected support for USB, a new window will ask for permission to install Universal Serial Bus driver for VirtualBox.
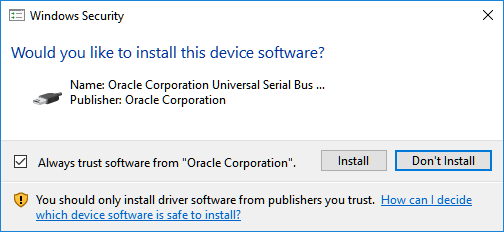
Click on Install button.
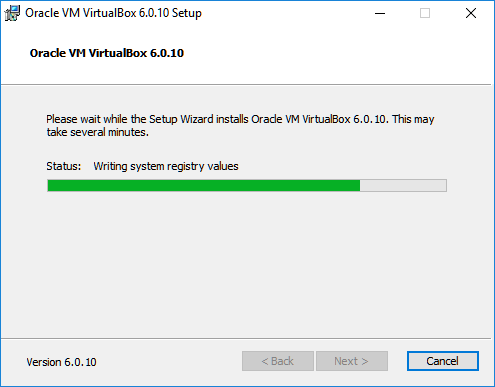
Installation process will resume.
After sometime installation will be complete and completion message window will come.

Click on Finish button to complete install. There is option to run VirtualBox after click on Finish button. You can check it or uncheck it.
Now BirtualBox is installed on your Windows 10. You can use it to run virtual machines.
