Mint Linux is one of the best Linux distro. People who just want to explore Mint Linux or who occasionally use it, would like to create a Mint Linux virtual machine. This article provides step by step guide to create virtual machine and install Mint Linux in VMWare Workstation player. It is always better idea to check whether your desktop or laptop supports virtualization or not. If virtualization is not supported, you can not run virtual machine.
Two things are required to create Mint Linux virtual machine.
- VMWare Workstation Player
- Mint Linux ISO image
VMWare Workstation Player
VMWare Workstation Player is one of the best free software for creating and running virtual machines with guest operating systems. If you have not installed VMWare Workstation Player, you need to install it.
Download Mint Linux ISO Image
Mint Linux VMware image is not available online. So we need to download iso image of Mint Linux and install it manually to create Mint Linux virtual machine.
You can download Mint Linux iso image from official webpage.
Download Link – https://linuxmint.com/download.php
Launch VMWare Workstation Player
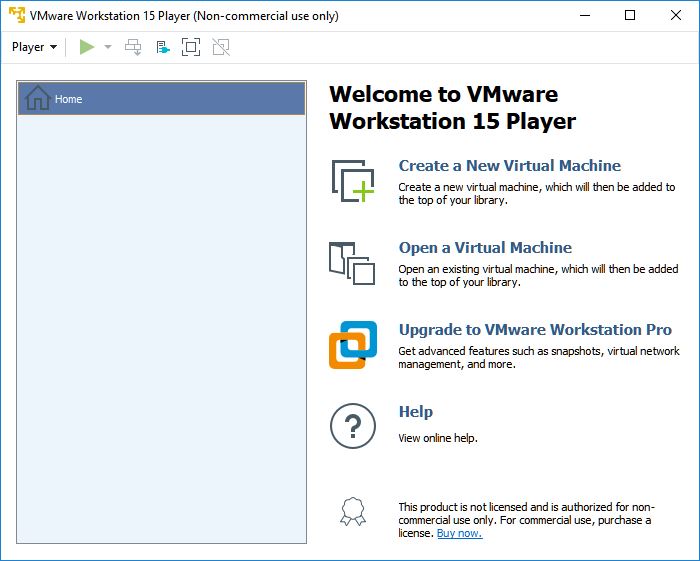
Click on VMWare Workstation Player icon on desktop to open VMWare Workstation Player. If desktop icon is not there, click on start menu and go to program section and browse to section letter V and click on VMWare Workstation Player. Alternatively you can search for VMWare in Cortana search and click on search result to launch VMWare player.
Create a New Virtual Machine
As there is no downloadable virtual machine image of Mint Linux, we have to create a new virtual machine to install Mint Linux on it. Click on Create a New Virtual Machine and it will open up a new virtual machine wizard to configure virtual machine.
Select Installer Disc Image File
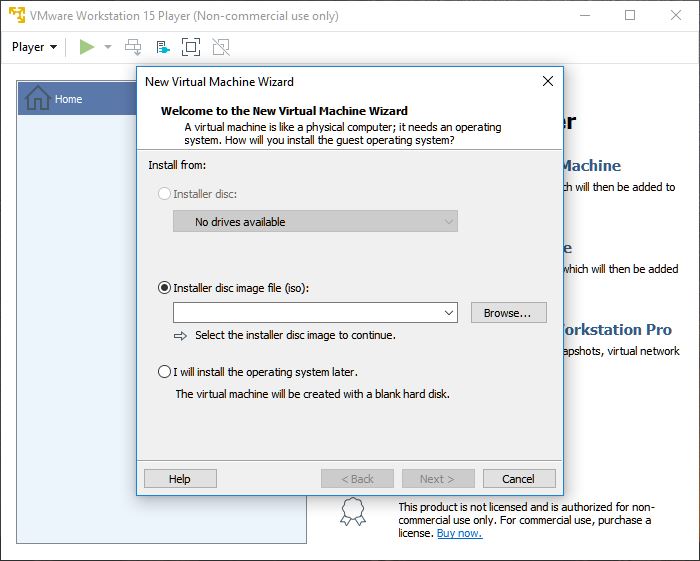
Select Installer disc image file (iso): option. Click on Browse button to select Mint Linux image from folder where you have saved it.
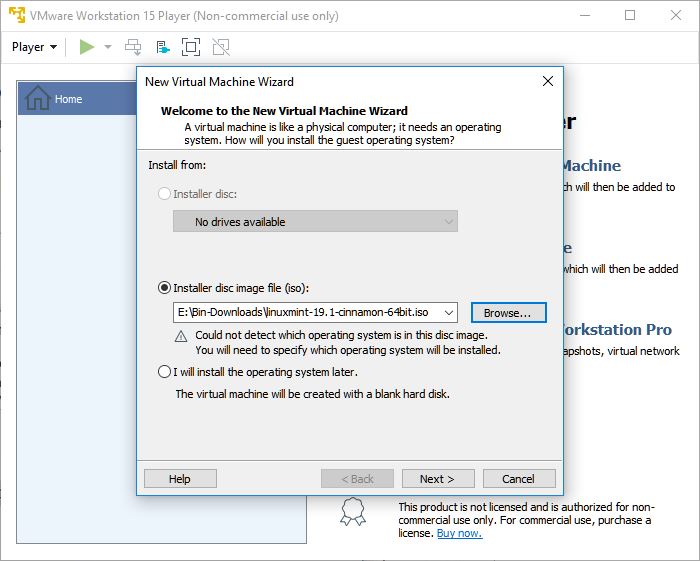
You will see that VMWare Player can not find out OS of disc image. No need to worry. We will solve this in next step.
Click on Next button to continue.
Select Guest Operating System
As VMWare Workstation Player can not find out disc image operating system, we have to help VMWare Player. Select Linux for Guest operating system option.
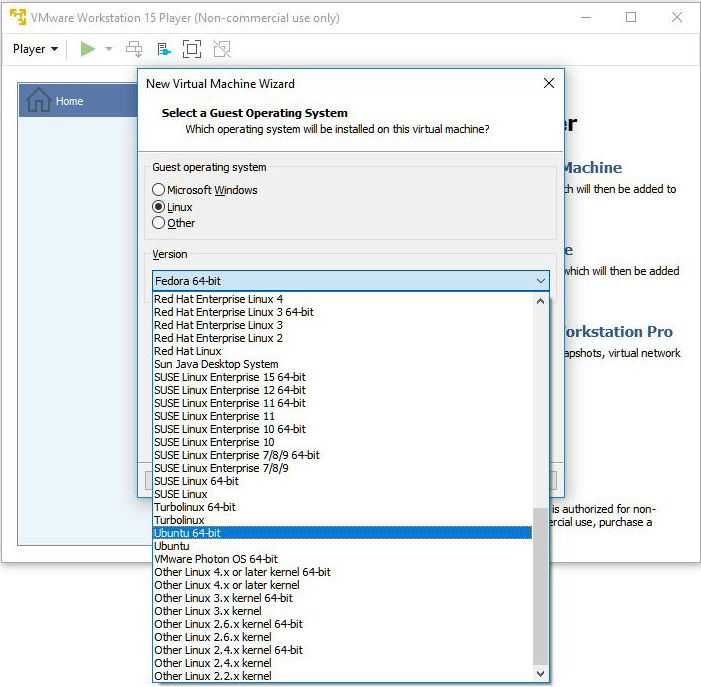
Next we have to select version of operating system. If you click on drop down menu of Version, you will see listing of many Linux flavors but there is no Mint Linux. As Mint Linux is based on Ubuntu Linux, select Ubuntu 64-bit and click on Next button. If you have download 32-bit image and want to create 32-bit Mint Linux virtual machine, please select Ubuntu from drop down menu.
Select Name for Virtual Machine
In this wizard chose name for virtual machine. Also select folder where you want to save virtual machine. Please make sure that drive where you want to save has enough free space. Otherwise virtual machine creation will fail.
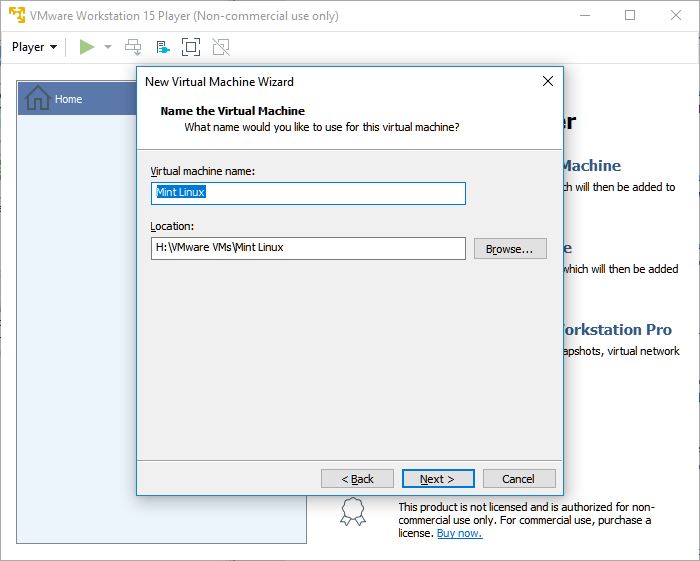
Click on Next.
Specify Disk Capacity
Disk capacity wizard will ask for maximum disk size that virtual machine can have. It is like hard disk size of virtual machine. Config wizard will recommend maximum disk size based on guest OS version. It is always good idea to check system requirements of Mint Linux to get recommended value. For Mint Linux, official release notes recommend minimum disk space of 15GB and optimal disk space of 20GB. We will go with 20GB disk space. If you want to store big amount of data on virtual machine, please set higher disk size.
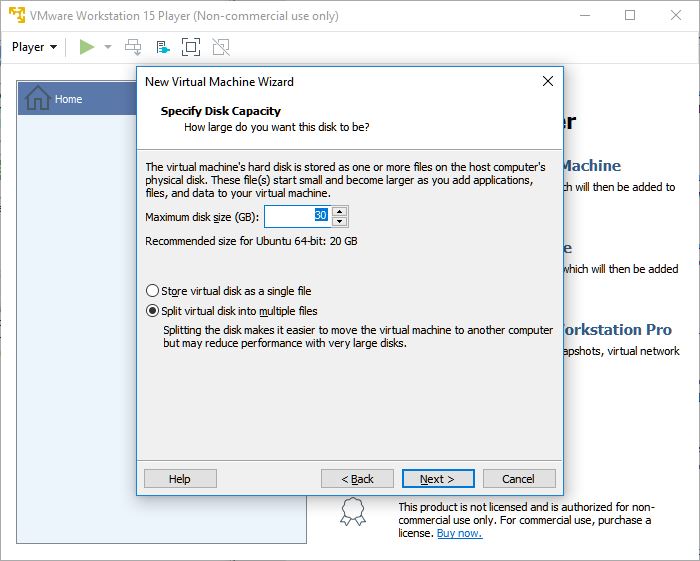
After selecting disk space, there is an option to select virtual disk as single file or multiple files. In case of single file option, whole virtual machine disk will be stored in one single file on host system. Single file is better for performance. And if you select Split virtual disk into multiple files, virtual machine disk will be split into multiple files. Multiple files make it easy to copy / move virtual machine to different folder or machine. Click on Next button to move to nest step.
Hardware Configuration
Virtual machine configuration wizard will now display virtual machine settings that you have configured till now with default settings for hardware devices.
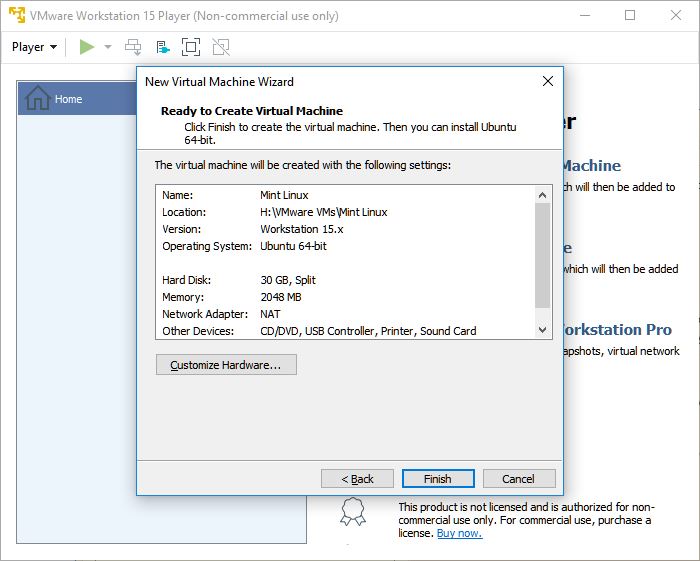
If you want to customize hardware, click on Customize Hardware button.
This will open up hardware configuration wizard where you can configure hardware components like RAM, Processors, USB Controller, Sound Card, Printer and Display.
RAM Configuration
By default, VMWare Player recommends 2GB RAM for Mint Linux based on recommended settings for Ubuntu Linux. 2GB RAM is enough if you want to use virtual machine just for learning Mint Linux. If you plan to use Mint Linux virtual machine for programing or graphic editing or some other heavy duty work, please allocate higher RAM.
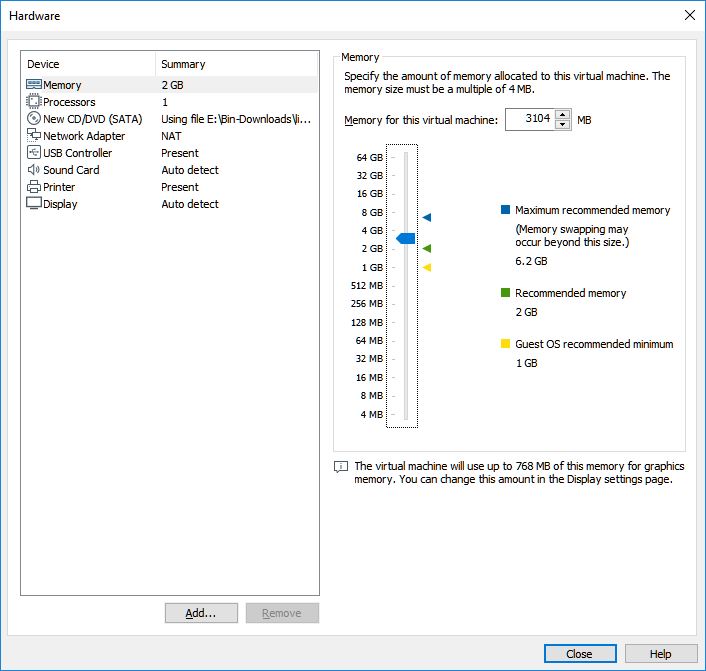
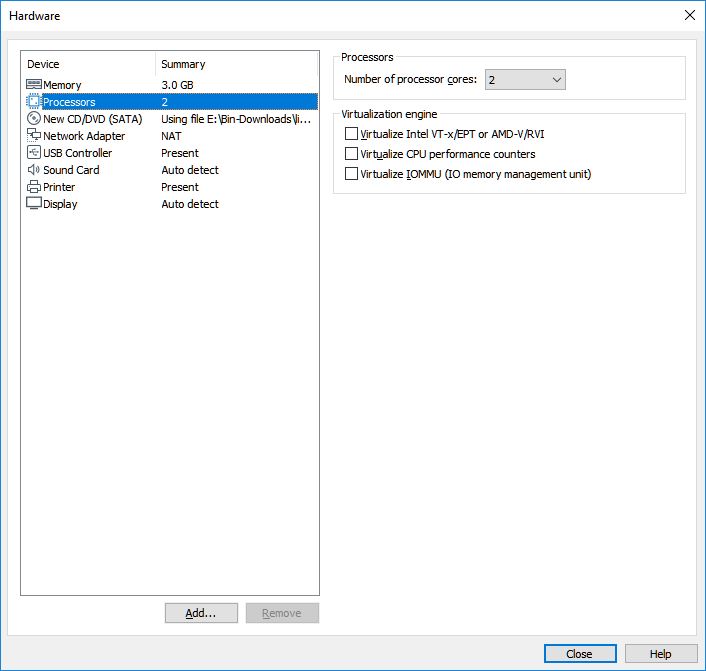
Processors Configuration
VMWare Player defaults to single processor (it is actually processor core). You can increase number of processor as most of the current generation CPUs come with multiple processors and cores. Higher number of processors will run virtual machine faster.
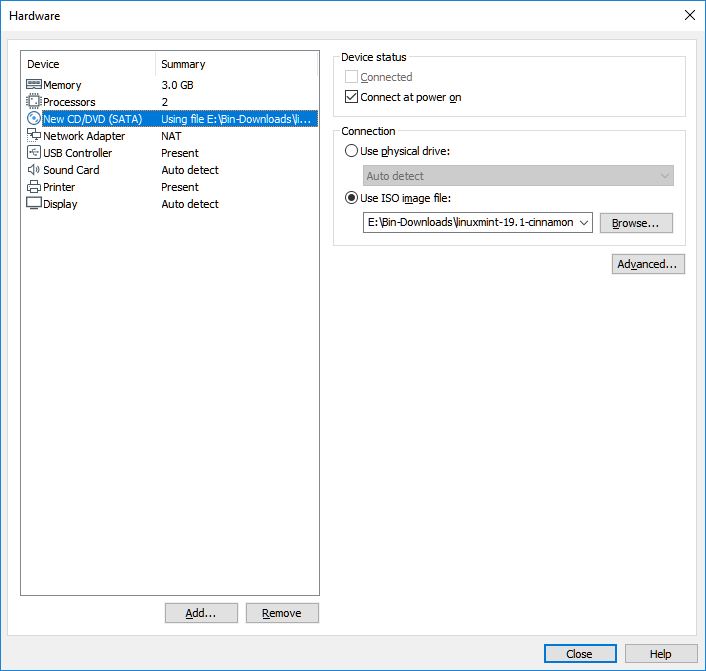
CD/DVD Drive Configuration
If you have desktop or laptop with CD/DVD drive, you can configure virtual machine to use these drives.
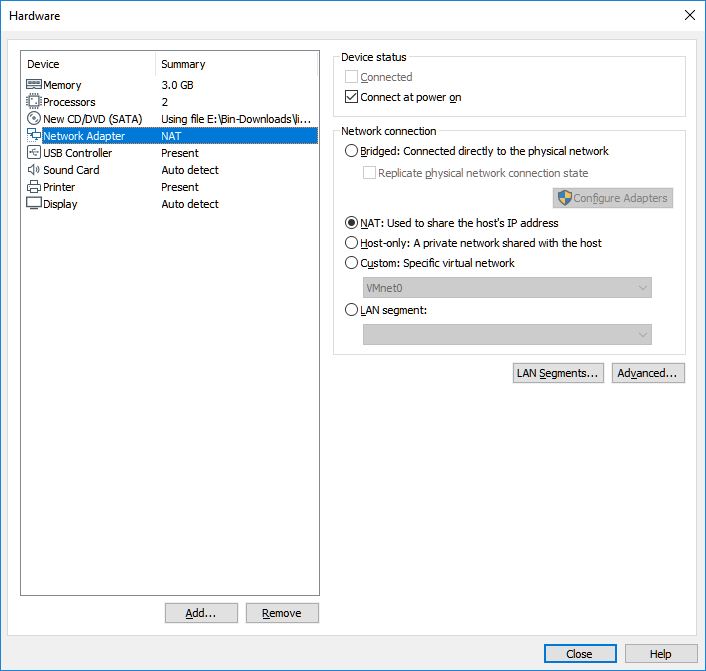
Network Adapter Configuration
Network adapter setting lets you configure how virtual machine connects to network. Most of the configuration is for advanced users. We will go with default values.
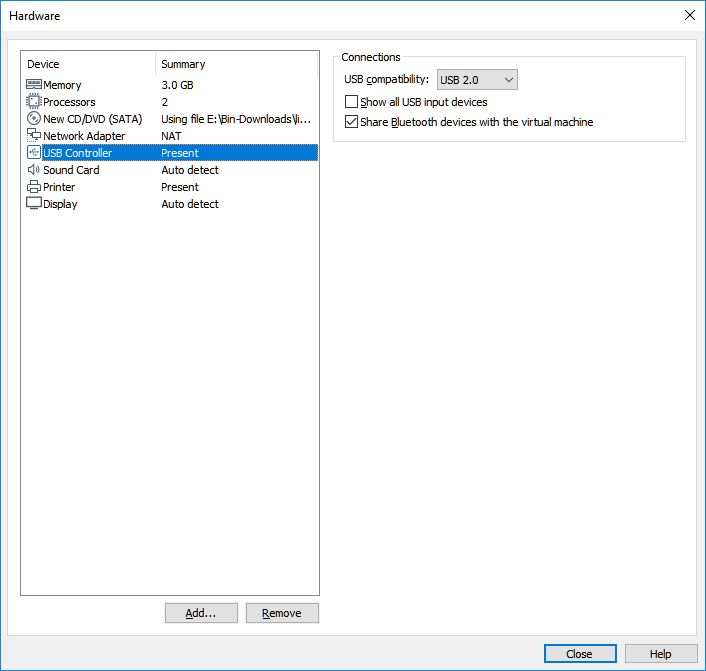
USB Controller Configuration
Here you can configure USB controller settings. You can also enable / disable sharing Bluetooth devices with virtual machine.
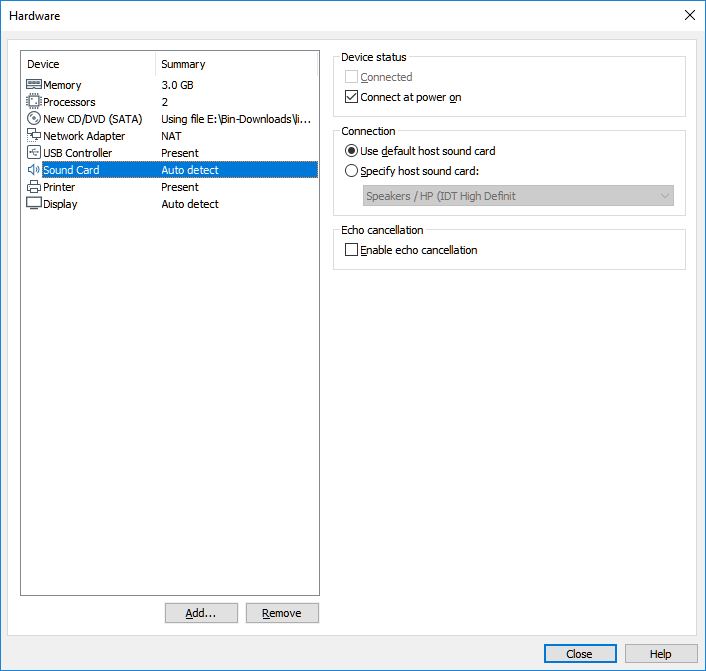
Sound Card Configuration
You can configure various settings for sound card. Just use default settings. We can also change these settings later on.
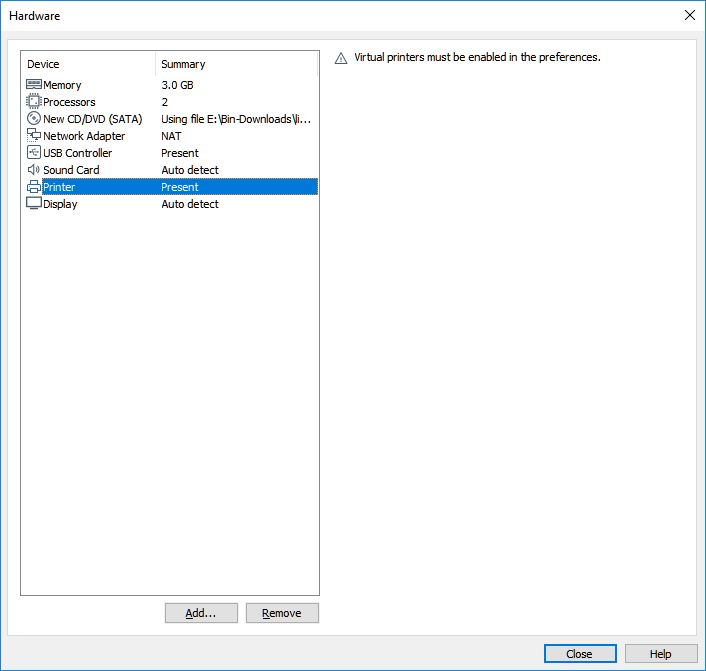
Printer Configuration
If any printer is connected to host machine, you can configure same for virtual machine. Just use default settings.
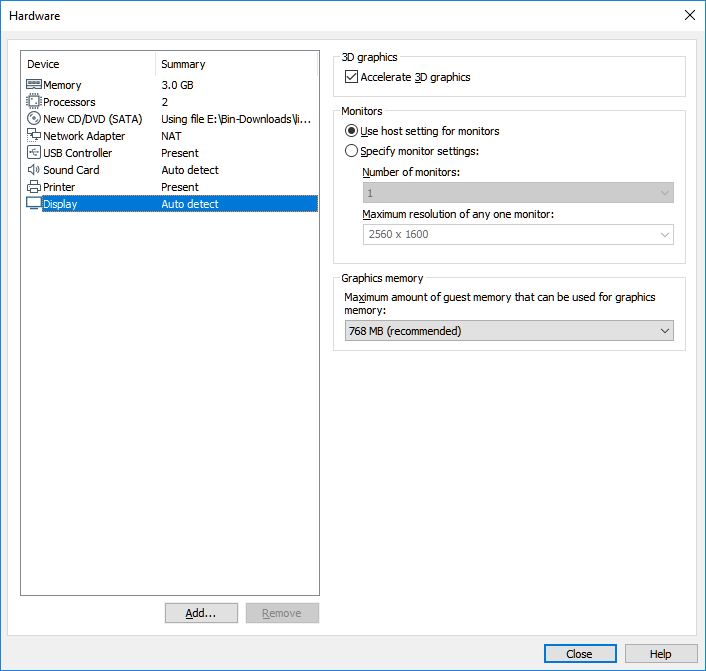
Display Configuration
This section has settings for display properties. You can go with default settings.
After configuring hardware settings, click on Close button to close hardware configuration wizard. This will save all the changes that you made.

Now VMWare Player is ready to install Mint Linux. You can view all the configuration settings. If you want to make any changes, you can still do that.
If you are satisfied with configuration details, Click on Finish button.
This will create Mint Linux virtual machine. Right now virtual machine is in powered off state. It is like bare-bone desktop machine with all the hardware pieced together without OS installed. Now it is time to install Mint Linux on virtual machine.
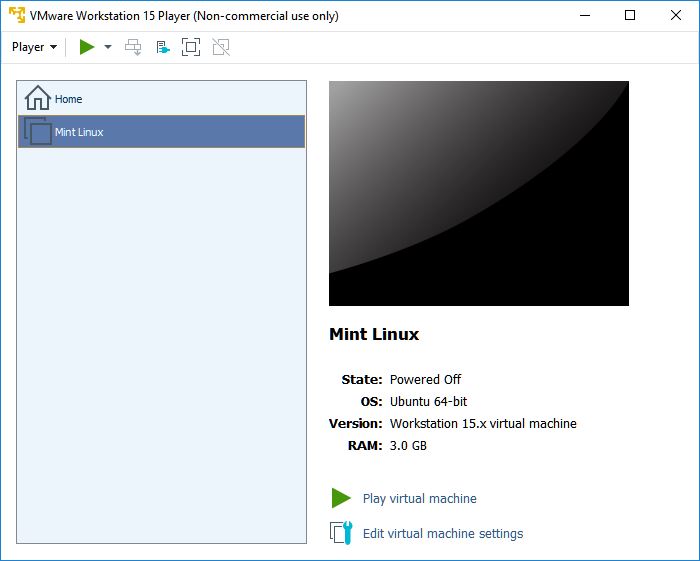
Click on Play virtual machine to start virtual machine. This will start booting process.
Starting booting process….
Booting in progress….
Booting in progress….
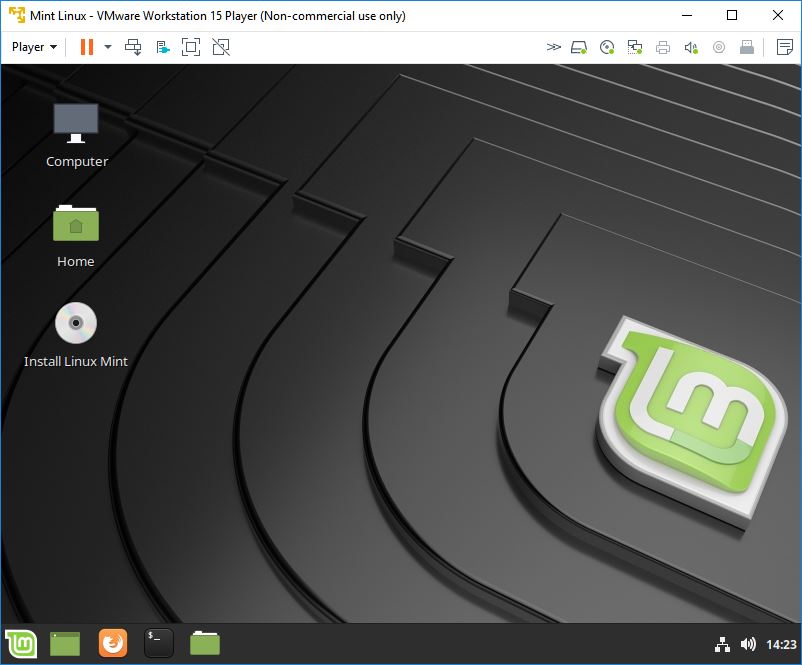
After sometime you will see virtual machine Mint Linux desktop. There will be Install Linux Mint icon. Click on that icon to start installation process of Mint Linux.
Select Language
You will see language selection wizard. Select language that you want use in Mint Linux. Default is English and we will go with default option.
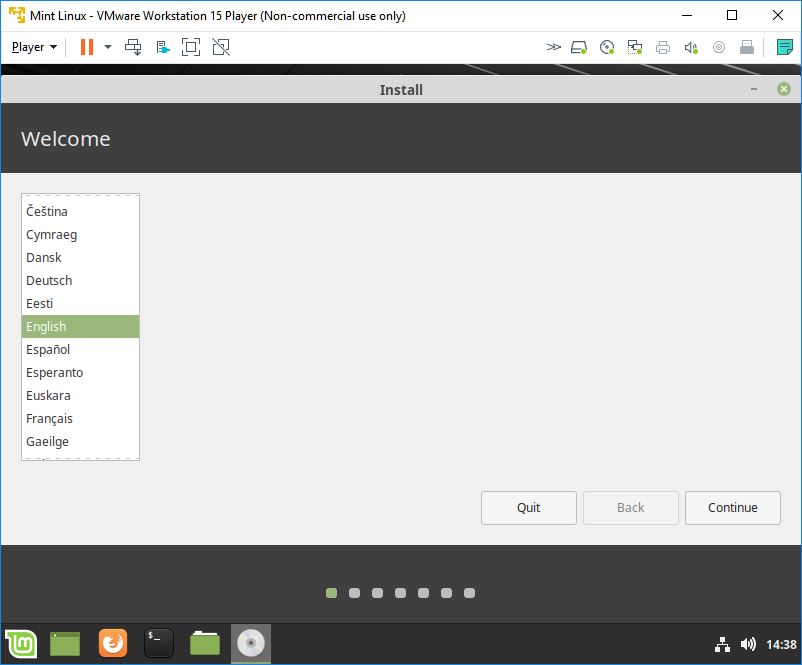
Click on Continue.
Select Keyboard Layout
Next wizard is for selecting keyboard layout. Please select appropriate keyboard layout setting that you want to use. We will continue with default English(US) keyboard layout.
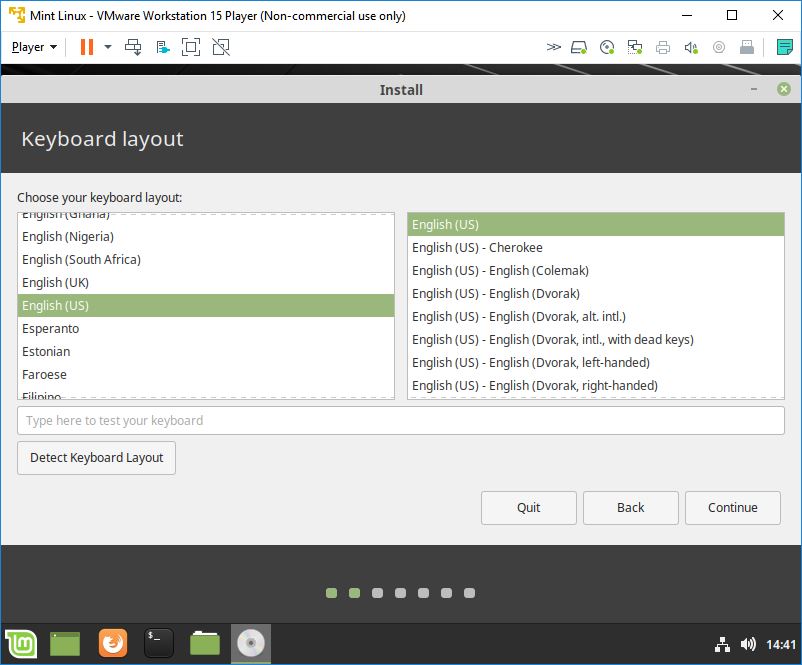
Click on Continue to move to next step of installation process.
Third Party Software
This wizard will ask for permission to install third-party software for graphics, Wi-Fi hardware, Flash, MP3 and other media. You can select to install now or continue without installation.
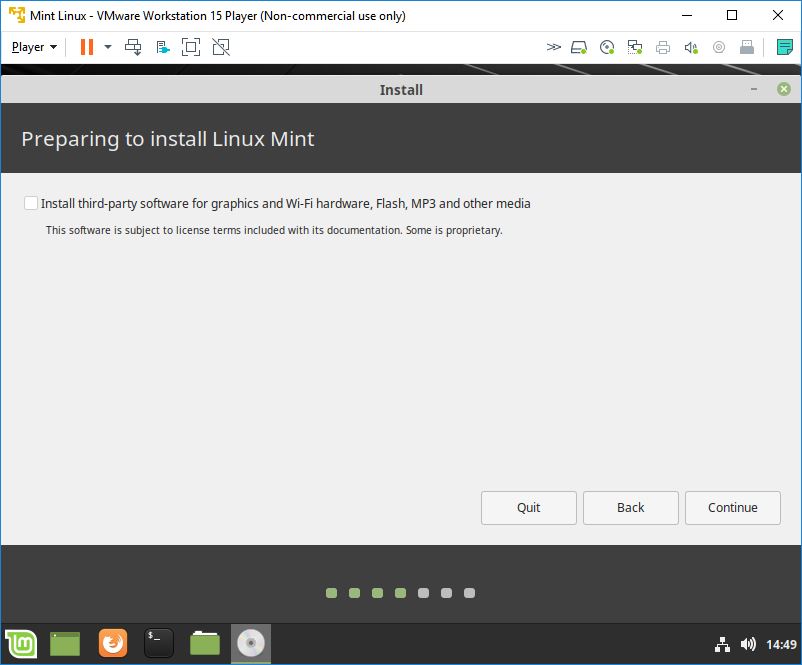
Click on Continue.
Installation Type
This final step will ask whether you want to install new Mint Linux on virtual machine or make changes to existing installation. You can also opt to encrypt your new Mint Linux installation and use LVM. You can select what options you want to go with.
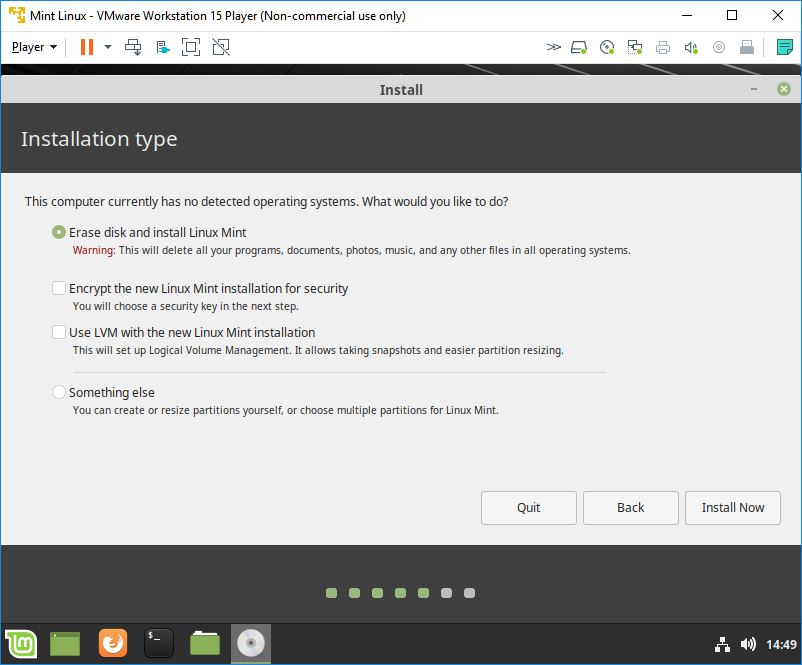
Click on Install Now button.
It will now ask for confirmation to write changes to disks.
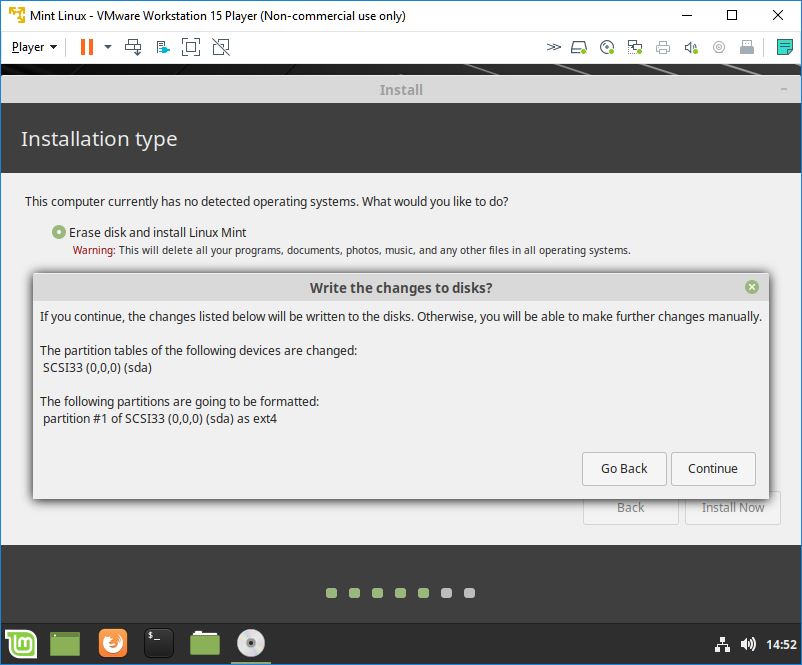
Click on Continue.
Select Location
Next wizard will ask for your location. Be default, it shows your current location. If you want to change it, you can do it before proceeding further. Just move the mouse to your country on map and it will pick up location.
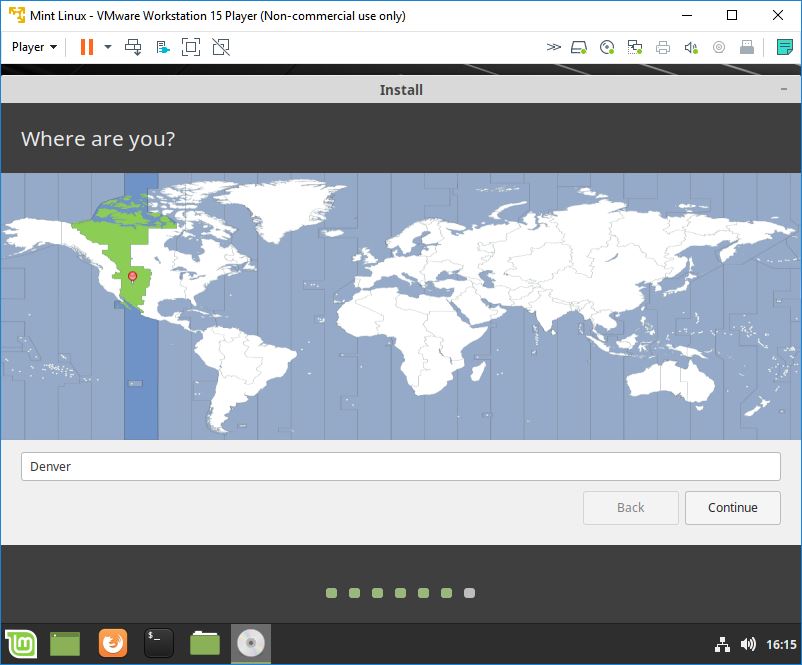
Click on Continue after setting location.
Set Username & Password
This config wizard helps you set up username, password, computer name etc. You can also set option for auto logging without requiring password when you boot up Mint Linux virtual machine. There is also an option to encrypt home folder for better privacy.
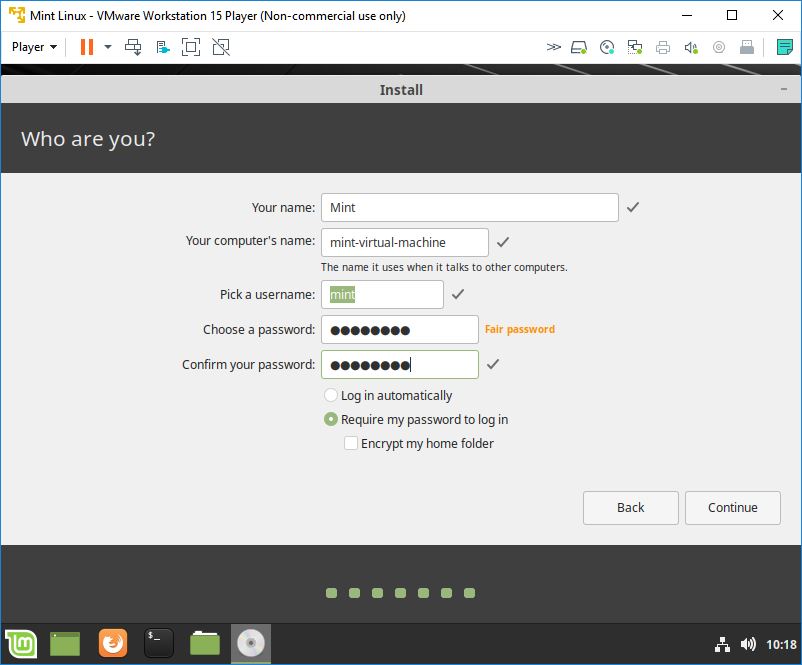
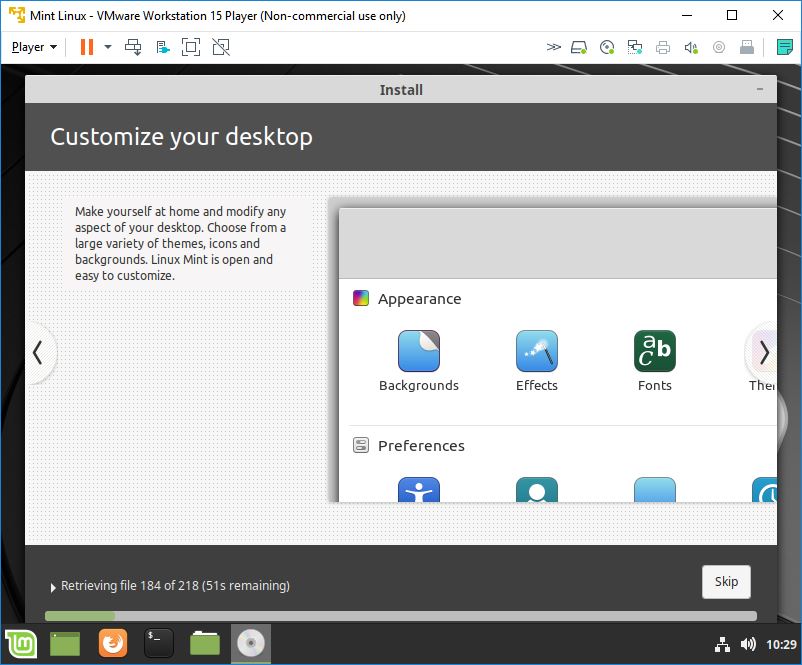
Click on Continue after setting values. This will start actual installation by copying files from iso image and writing on virtual machine’s hard disk. You can see installation progress by green bar.
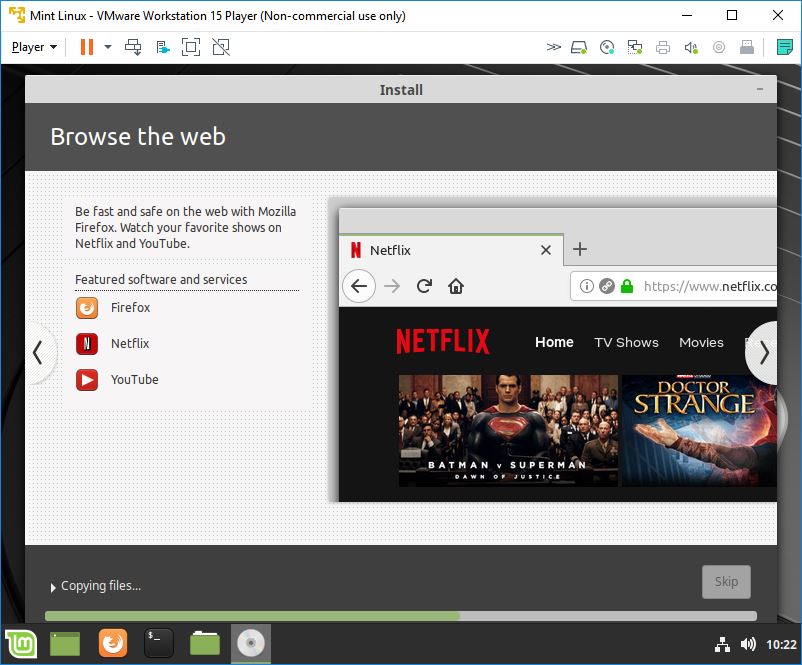
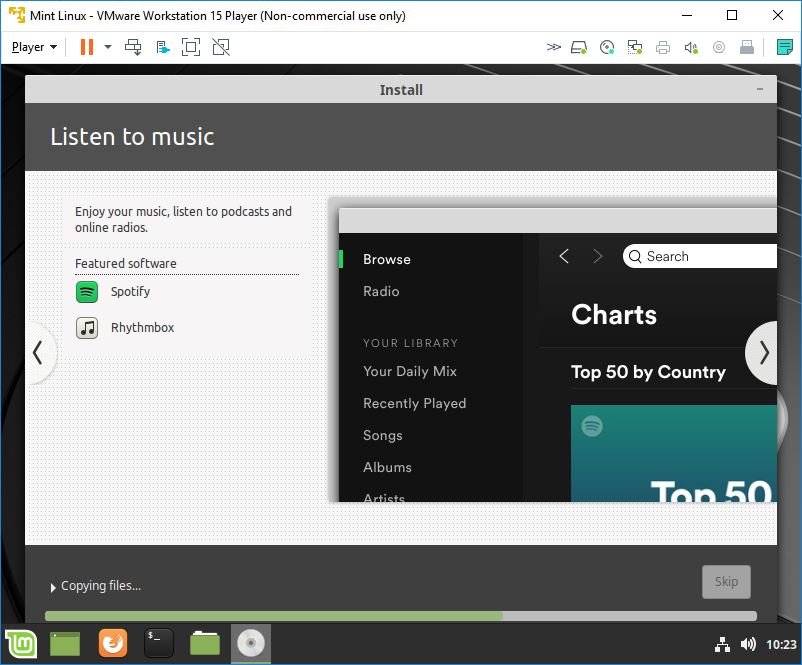


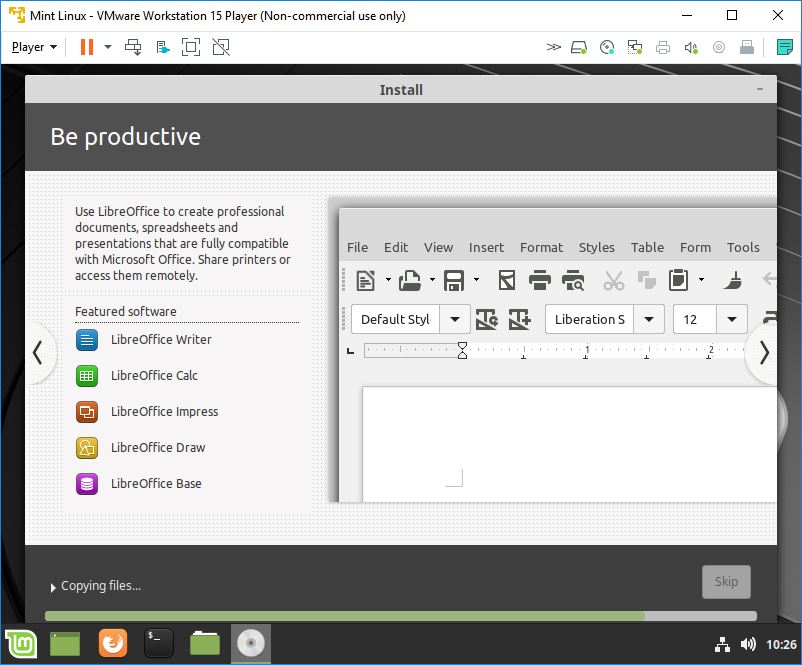
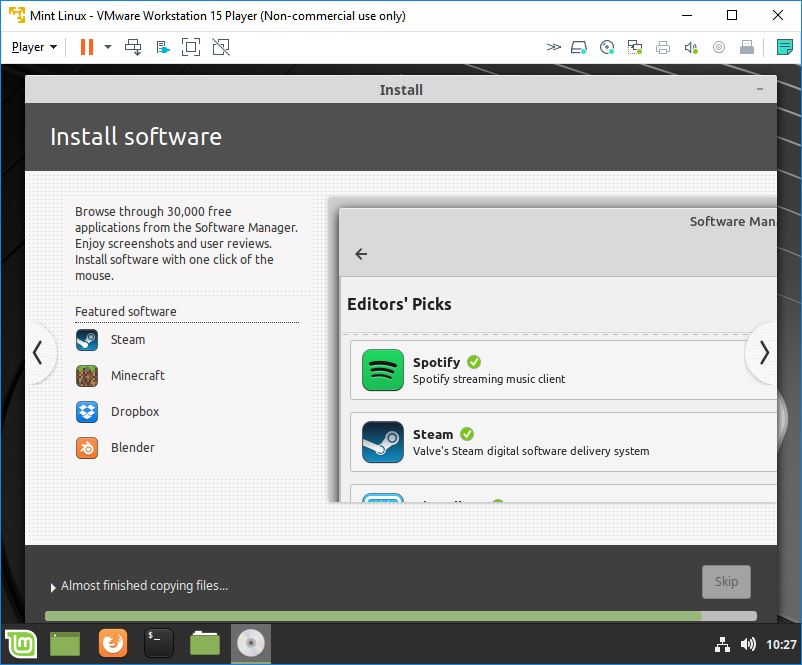
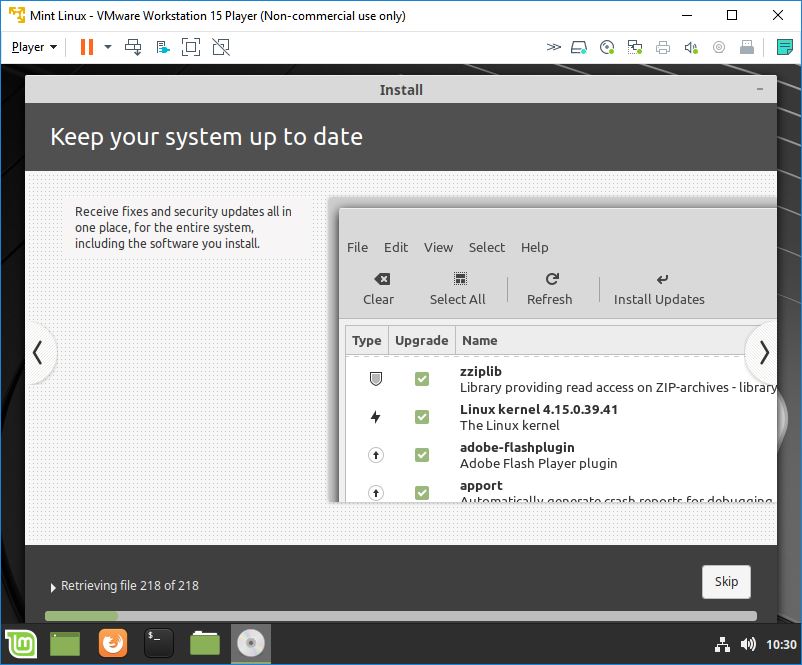
Installing system…
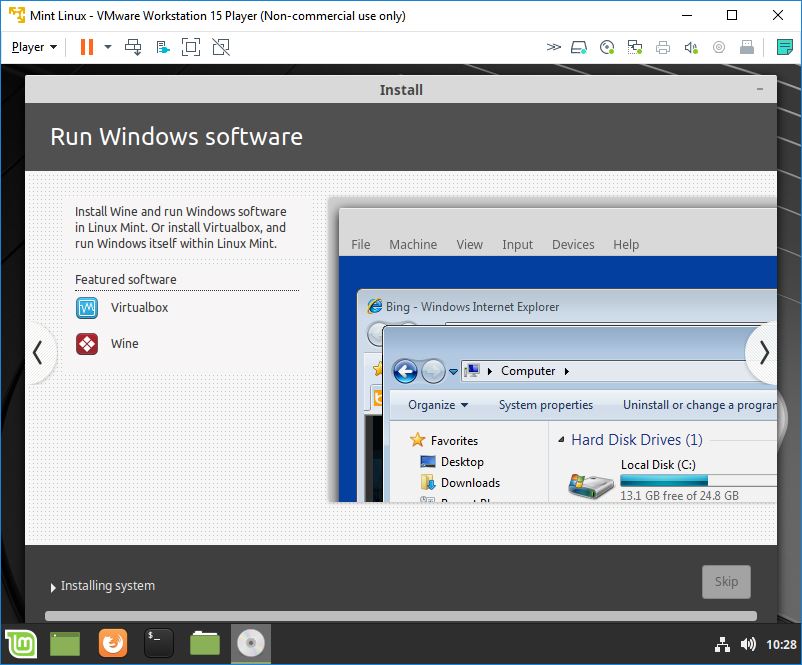
Retrieving files…
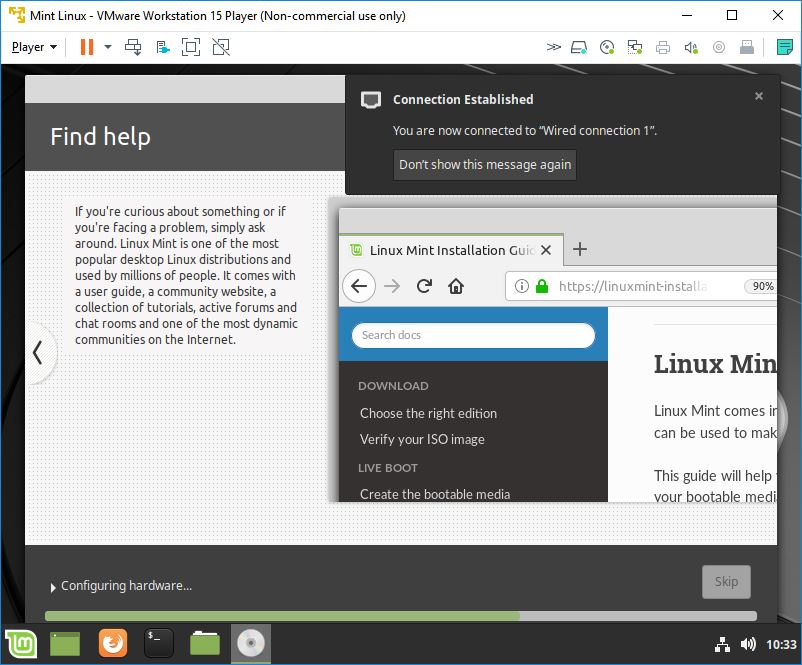
Configuring hardware…
After installation is complete, a dialog box informing installation is complete will pop up ask for rebooting.
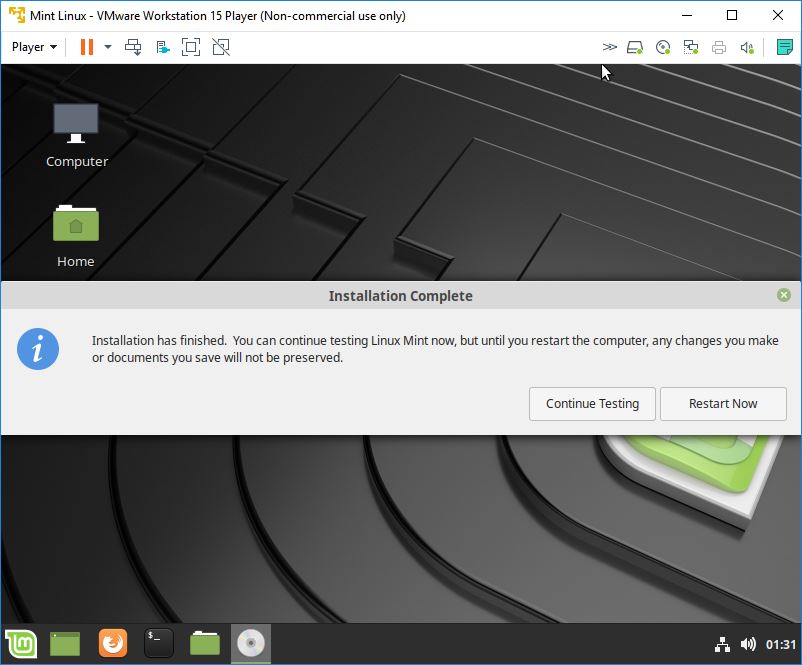
Click on Restart Now to save changes and complete installation.
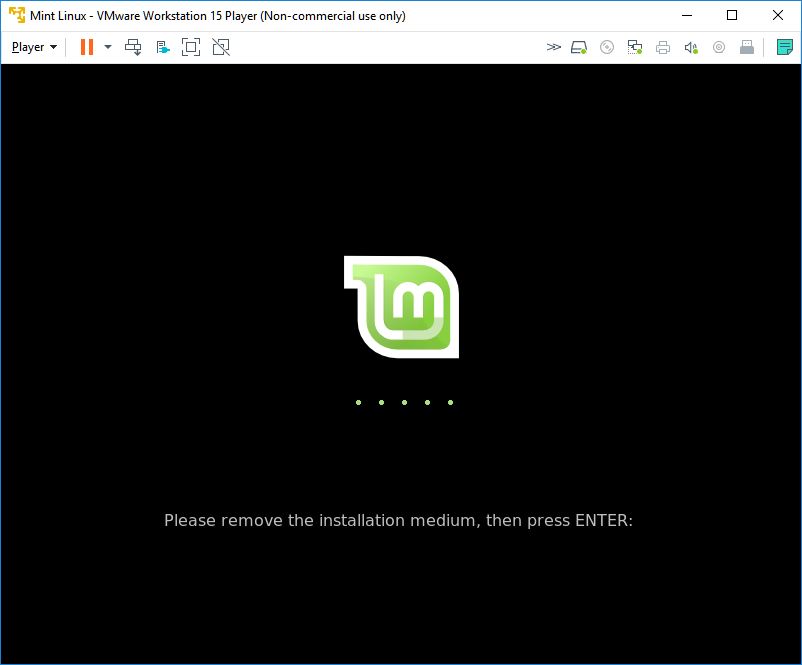
Press Enter to continue restart process. You need to first click mouse in virtual machine’s desktop and then press Enter.
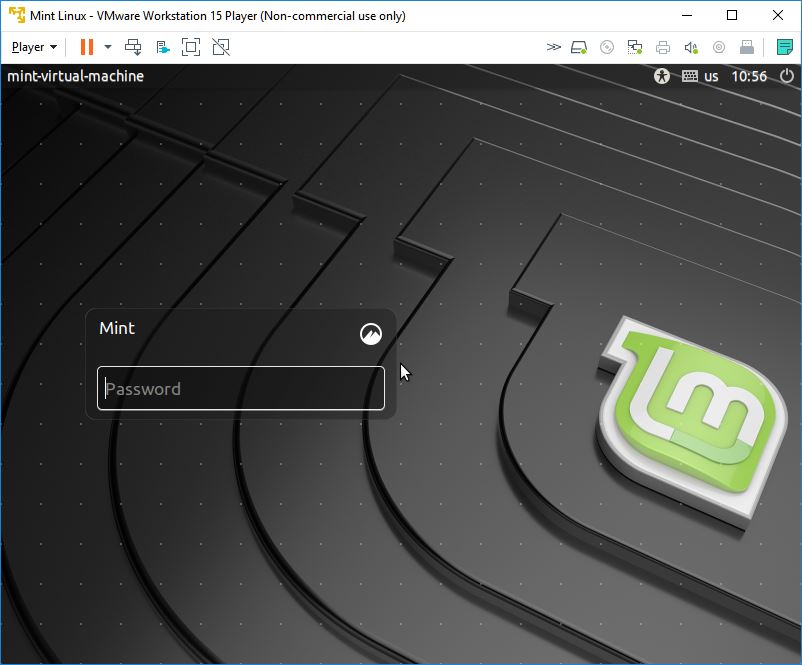
After reboot, you will get login prompt. Login with password that you have created for username.
And you are logged into your newly created virtual machine.
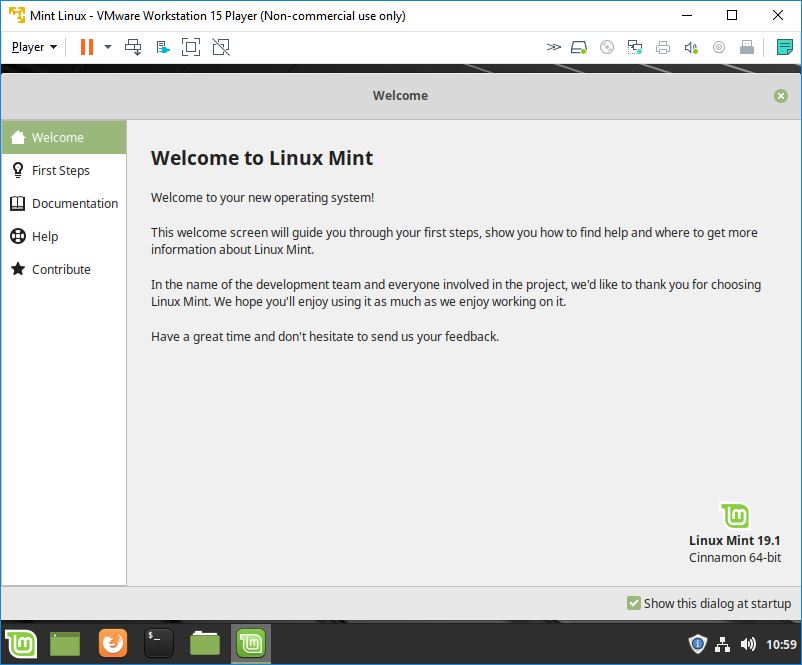
Mint Linux virtual machine for VMWare Workstation Player is ready now.